

9.29.2010
New clock images
How was your weekend? Mine was a blur, but good - I was busy creating and refining some new images for clocks. I'll be uploading them to Etsy this week, but if you see one that you like and must have before that, just send me a message (lisa at milkshaksecrafts dot com)! I'm so glad that I finally got these down on paper. A lot of them have been in my head for a while. Remember that survey that some of you took waaaaay back in February? I got lots of great ideas from that, and some of these new ideas came from the survey. Thank you!


9.27.2010
Fall art classes starting SOON!
Are you in the Elkins Park/Abington/Philadelphia/Cheltenham area? If so, I'm teaching art classes for kids, ages 2 and up! There will be two sessions, one for 2-5 year-olds (with parent) and one for ages 5 and up. Click on the flier below for more information!


9.21.2010
FREE shopping list printable!
Are you like me? Just about every time I go to the market I forget 75% of what I need unless I have a list. No list and I wind up right back at the market the next day. Also, I make the same list over and over and over… making me feel like I'm wasting paper and brain power trying to remember what we usually purchase. So last year around this time I created a shopping list for myself and printed out a handful of them. They were so, so helpful to me and I hope they are for you, too! Feel free to download the list and use it as many times as you like.

PS: I'd love feedback on the items on the list. I did this kind of quickly and may not have included your favorites. Let me know if there are things that you absolutely must have on the list and I can easily update it!

PS: I'd love feedback on the items on the list. I did this kind of quickly and may not have included your favorites. Let me know if there are things that you absolutely must have on the list and I can easily update it!
9.15.2010
Introducing: coloring books!

The first coloring book in the series is ready! This one features 10 different patterns, measures 8.5 x 11" (or 11 x 17" when flat), is printed on white paper and saddle-stitched. You can have your very own milkshake crafts coloring book for just $4! And if you buy one today, you will also get a free *surprise* gift! Click here to go to my Etsy shop and get your very own not-your-ordinary coloring book!

9.08.2010
Coloring books!
I'm not sure if I've mentioned it on here or not, but I've been thinking about making some milkshake crafts coloring books. I know I've posted about it on my Facebook fan page back in May. Yes, I said May. I don't do much work during the summer :)
I've got quite a few pages already finished, so I thought I'd give you a sneek peek. What do you think?

Right now I've used my patterns as the base for the pages. I've also been thinking about birds, butterflies, etc.
What would you like to see in a coloring book? Would you use it or give it to your kids?
I've got quite a few pages already finished, so I thought I'd give you a sneek peek. What do you think?

Right now I've used my patterns as the base for the pages. I've also been thinking about birds, butterflies, etc.
What would you like to see in a coloring book? Would you use it or give it to your kids?
9.06.2010
FREE back to school printable!
Malayna goes back to school tomorrow, and we're planning on doing something fun and crafty today to celebrate, in addition to having her favorite dinner (spaghetti and homemade meatballs). Last year we made crowns. This year we're going to make back-to-school time capsules. I got the idea here. Looks like (easy) fun!

Lunchtime in the cafeteria was really tough for Malayna last year, so I was thinking of ways to make it easier on her this year. One way is to leave little notes for her in her lunchbox. This year she can read, but last year when she couldn't I drew her little pictures. To make things really simple, I created a free printable of lunch box notes - you can download, print on letter-sized paper, cut and write a message or draw a picture for your little one. (Click on the image above to make it larger, then print. Send me an email - milkshakecrafts at yahoo dot com - if you have any problems.) Enjoy!
What do you do to celebrate the first day of school?

{Click on the image to enlarge it. Print, cut and enjoy!}
What do you do to celebrate the first day of school?
9.05.2010
Fall art classes!

8.27.2010
Art class: wild things
I'm really behind with these art class postings - I have three that I still haven't written about! Yesterday was the last summer art class and pool party. A good time was had by all!
Last week we worked on creating our own wild things. (The week before the girls did self-portraits, but I didn't get any good photos that day so I won't be posting about it.)

After reading Where the Wild Things Are, the girls got to work drawing their own wild thing in pencil. I gave step-by-step instructions - first draw the head, then the body, then the arms, legs, etc. Sometimes when I give them free-reign they rush through and finish too early. Going slowly gives them time to think about what they're drawing. I also gave out blank scrap paper in case they wanted to sketch some ideas before starting. I was surprised at how excited they were to do this part. I'll definitely include this step in other classes. When the drawings were finished I brought out the oil pastels for drawing patterns and outlining. Then the girls painted with watercolors and the spots where they used oil pastel resisted the paint. Most of them remembered this from the other time we did it.


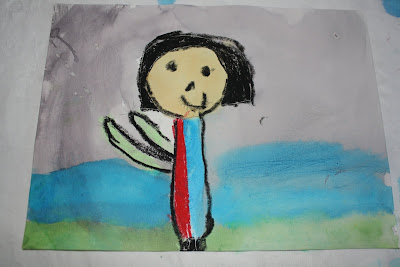


Last week we worked on creating our own wild things. (The week before the girls did self-portraits, but I didn't get any good photos that day so I won't be posting about it.)

After reading Where the Wild Things Are, the girls got to work drawing their own wild thing in pencil. I gave step-by-step instructions - first draw the head, then the body, then the arms, legs, etc. Sometimes when I give them free-reign they rush through and finish too early. Going slowly gives them time to think about what they're drawing. I also gave out blank scrap paper in case they wanted to sketch some ideas before starting. I was surprised at how excited they were to do this part. I'll definitely include this step in other classes. When the drawings were finished I brought out the oil pastels for drawing patterns and outlining. Then the girls painted with watercolors and the spots where they used oil pastel resisted the paint. Most of them remembered this from the other time we did it.

Some of the names they came up with for their wild things were funny.

{Eagle wild thing.}

{Puppy pal wild thing.}

{I don't remember the name of this one, but she
told me it was a drawing of her mom!}

{Penguin wild thing.}

{Guinea fish wild thing.}

{Cop wild thing.}

{Puppy fish wild thing.}
After the wild things were finished we had some time left. I was expecting these to take up most of the class time, so I didn't have anything else planned. I spotted a tub of Crayola air dry clay that I had purchased a while back for Malayna. Each girl got a bit of clay and instructions to knead it in their hands before making something. They LOVED the clay and were so helpful to each other. I brought out some cookie cutters and one of the girls showed the others how to make little bowls. This could've been an entire art class on its own, divided into two sessions since the clay has to dry for a few days before it can be painted. This time they were sent home and told to wait 2-3 days for the clay to dry before painting it with tempera, watercolors or acrylics. You could probably even draw on it with markers.


8.18.2010
Happy first birthday Lola!

Happy birthday Lola! It must be a special day, because you chose today to start drinking from the toilet.


8.16.2010
Art class: collage with painted paper

Wow! This art class had so much energy! It was so lively and busy that we didn't even have time for snack until the very last minute. That's huge, people.

We read a fantastic book called The Lion and the Little Red Bird. The watercolor and mixed media illustrations in this book are colorful and inspiring. The story is great, too - about the friendship that develops between the two creatures, even though they don't speak the same language. The lion's tail is a different color each morning, and the girls enjoyed trying to figure out why.

Part of the reason this class was so energetic was because they were moving the whole time. Instead of having them sit at the same table for the entire class (like they usually do), I set up four painting stations. Each station/table had a different colors of paint and the girls would move to the next table after painting a sheet of paper (or two or three…). Table one had brown, black and white, table two had orange, red, yellow, table three had blue, purple, green and the last had yellow, white and pink.


They were so into it that I had to keep an eye on the time and move them along after a little while. I think they would've easily filled four or five sheets of paper at each table. My intention was to have them paint one sheet per table, but that didn't really work out. They tended to do two sheets on average and some were constantly asking for more paper. How could I say no when they were so inspired?!

In addition to painting the papers, they could use things to make impressions in the paint, like plastic forks, bubble wrap (the favorite), sponges and brushes. I need to get more bubble wrap - it's art class gold.
While they worked on painting their papers, my assistant Tessa had to start drying them with a blow dryer. I realized halfway through that they wouldn't be dry enough to complete the project. Once again I was so glad that I had an assistant.

After the papers were dry and we found the owners of them, I handed out bird body templates. The girls traced the bird body onto their painted papers, then wings, tail feathers, and head. Some girls went further and created nests, the sun, leaves and branches. I gave each girl a googly eye for their bird. I also let them use the oil pastels to draw on them. They cut out their drawings and glued everything onto blue construction paper.


I love the way these turned out! This, to me, was the perfect art class: there was tons of energy, the process was fun and the product looks great. Most of the projects we do are more about process than product, as it should be at this age. But it's a plus when pieces like this happen!
This project was adapted from one I found on the Deep Space Sparkle blog. She has lots of great art class ideas with excellent instructions.


8.05.2010
Inspiration
A few inspiring things:
• This blog
• knack studios (love seeing the before and after shots)
• Anna Marie Horner's gorgeous patterns
• Pretty stationery
• Seeing this. It never gets old.
What inspires you?
• This blog
• knack studios (love seeing the before and after shots)
• Anna Marie Horner's gorgeous patterns
• Pretty stationery
• Seeing this. It never gets old.
What inspires you?
8.04.2010
Wordless Wednesday

{Painting created by Malayna at the Abington Art Center's art camp…}

{…inspired by The Great Wave by Katsushika Hokusai.}
8.03.2010
Art class: hats
We did something a little different in last week's art class. Up until then we'd been working on 2D artwork, but this time we played around with some three-dimensional stuff. We read two books about hats (the girls voted for a second book): Twelve Hats for Lena (which may have been a little young for this group) and Millie's Marvellous Hat (a cute book about imagination).
 Since the weather was uncooperative (very hot and humid with a threat of thunderstorms) I decided to play it safe and hold class indoors. My assistant had camp this week, so my mom helped out. We talked a little about what could go on the hats, but they were very anxious to get started. I put out a variety of materials for them to work with: feathers, oil pastels (they love these), paints, buttons, ribbon, yarn, pipe cleaners and pom-poms.
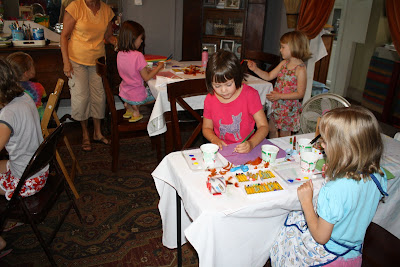


While the hats were drying (those pom-poms need a lot of glue!), they drew people with crazy hats on black paper with chalk pastels. Those were also a big hit. Some of the drawings were just a big mess of pastels that they had smooshed around the paper with their hands. A few of the girls (mine included) just wanted to put their hand in the pastels - never mind a drawing. I managed to reel them in and remind them to create a crazy hat drawing!


One of the girls had the idea to make bracelets with the pipe cleaners, and hats were even created for a special stuffed animal.


While the hats were drying (those pom-poms need a lot of glue!), they drew people with crazy hats on black paper with chalk pastels. Those were also a big hit. Some of the drawings were just a big mess of pastels that they had smooshed around the paper with their hands. A few of the girls (mine included) just wanted to put their hand in the pastels - never mind a drawing. I managed to reel them in and remind them to create a crazy hat drawing!


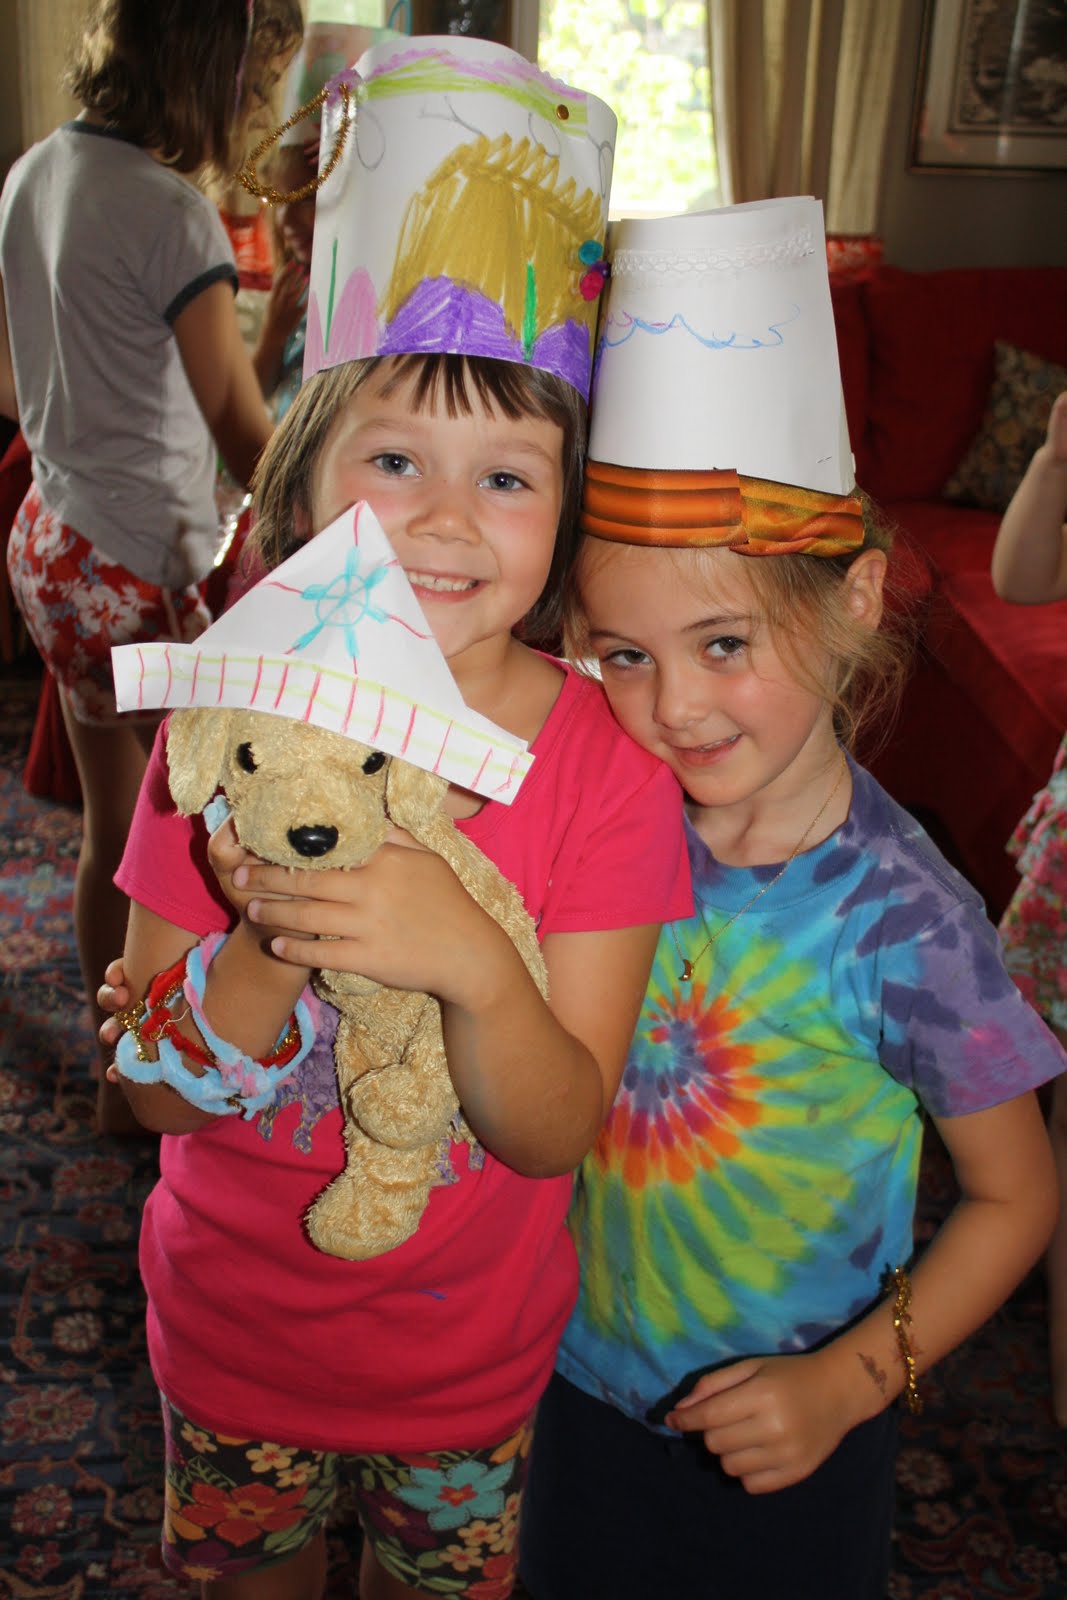
One of the girls had the idea to make bracelets with the pipe cleaners, and hats were even created for a special stuffed animal.
Subscribe to:
Posts (Atom)